December 17, 2025
You generated a token, added it to the request header, and your API calls worked.
That workflow came from the private app era. It no longer reflects how Shopify expects apps to authenticate today, especially when you are building a new custom app or working inside a dev store app environment.
Shopify’s current direction is explicit. Apps should use standardized authorization and token acquisition flows. That means token exchange for embedded apps and authorization code grant for non embedded apps.
Because n8n is not an embedded Shopify Admin app and runs externally, OAuth using the authorization code grant is the correct and supported approach when you want a proper “Connect Account” experience.
This guide walks through exactly how to do that, without guesswork.
For a visual walkthrough of the same process, you can also follow this Loom recording alongside the steps below:
Before creating your new custom Shopify app, make sure you have the following prepared.
First, your n8n instance base URL. This must be the same host you will use in your Shopify app URLs.
Example:
https://automation.yourdomain.com
or you can use localhost if running your n8n locally.
If you are self hosting n8n, the URL must be reachable externally. Shopify must be able to redirect back to it during OAuth.
Second, a Shopify Partner account. This is required to create a Partner managed app that supports OAuth and is the recommended approach for new custom apps.
Third, the Shopify store you will connect. You only need the shop subdomain, for example yourstore from yourstore.myshopify.com. This applies whether you are working with a production store or a dev store app.
Log in to the Shopify Partner Dashboard.
Go to Apps, then Create app.
Give the app a clear name, for example “n8n Automation Connector”.
Once the app is created, copy the following values and store them securely:
Client ID
Client Secret
These credentials identify your new custom app and are what n8n will use during the OAuth authorization process.
This step is critical. Most OAuth issues happen here.
In n8n:
Create a new credential using Shopify OAuth2.
n8n will display an OAuth Redirect URL.
Copy this URL exactly.
Back in the Shopify Partner Dashboard, open your app and go to Configuration.
Find the URLs section.
Paste the n8n OAuth Redirect URL into the Allowed redirection URL(s) field.
Set the App URL to use the same base host as your n8n instance.
The redirect URL host and the app URL host must match. If they do not, Shopify will reject the OAuth flow later and debugging will be painful.
In the app Configuration section, choose the Admin API access scopes your workflow actually needs.
Typical n8n Shopify workflows require access to orders, products, or customers.
Select only the scopes you need. Over scoping increases friction and can require additional approval steps.
If your workflow needs protected customer data, Shopify may require an extra access request inside the app configuration. When this happens, it often looks like OAuth is broken, but it is actually a permissions issue.
Save the configuration once scopes are selected.
After configuring scopes and URLs:
Save the app configuration.
Click Save and release.
Shopify will not complete OAuth successfully if the app is not in a usable released state, even for a dev store app.
From the app Overview page:
Install the app on the store you want to connect. This can be a dev store or a live store.
Confirm the install and approve the requested permissions.
This is the merchant authorization step. Shopify grants the scopes that your OAuth token will represent at this moment.
Back in n8n:
Open the Shopify OAuth2 credential.
Enter the Client ID.
Enter the Client Secret.
Enter the Shop Subdomain, for example yourstore.
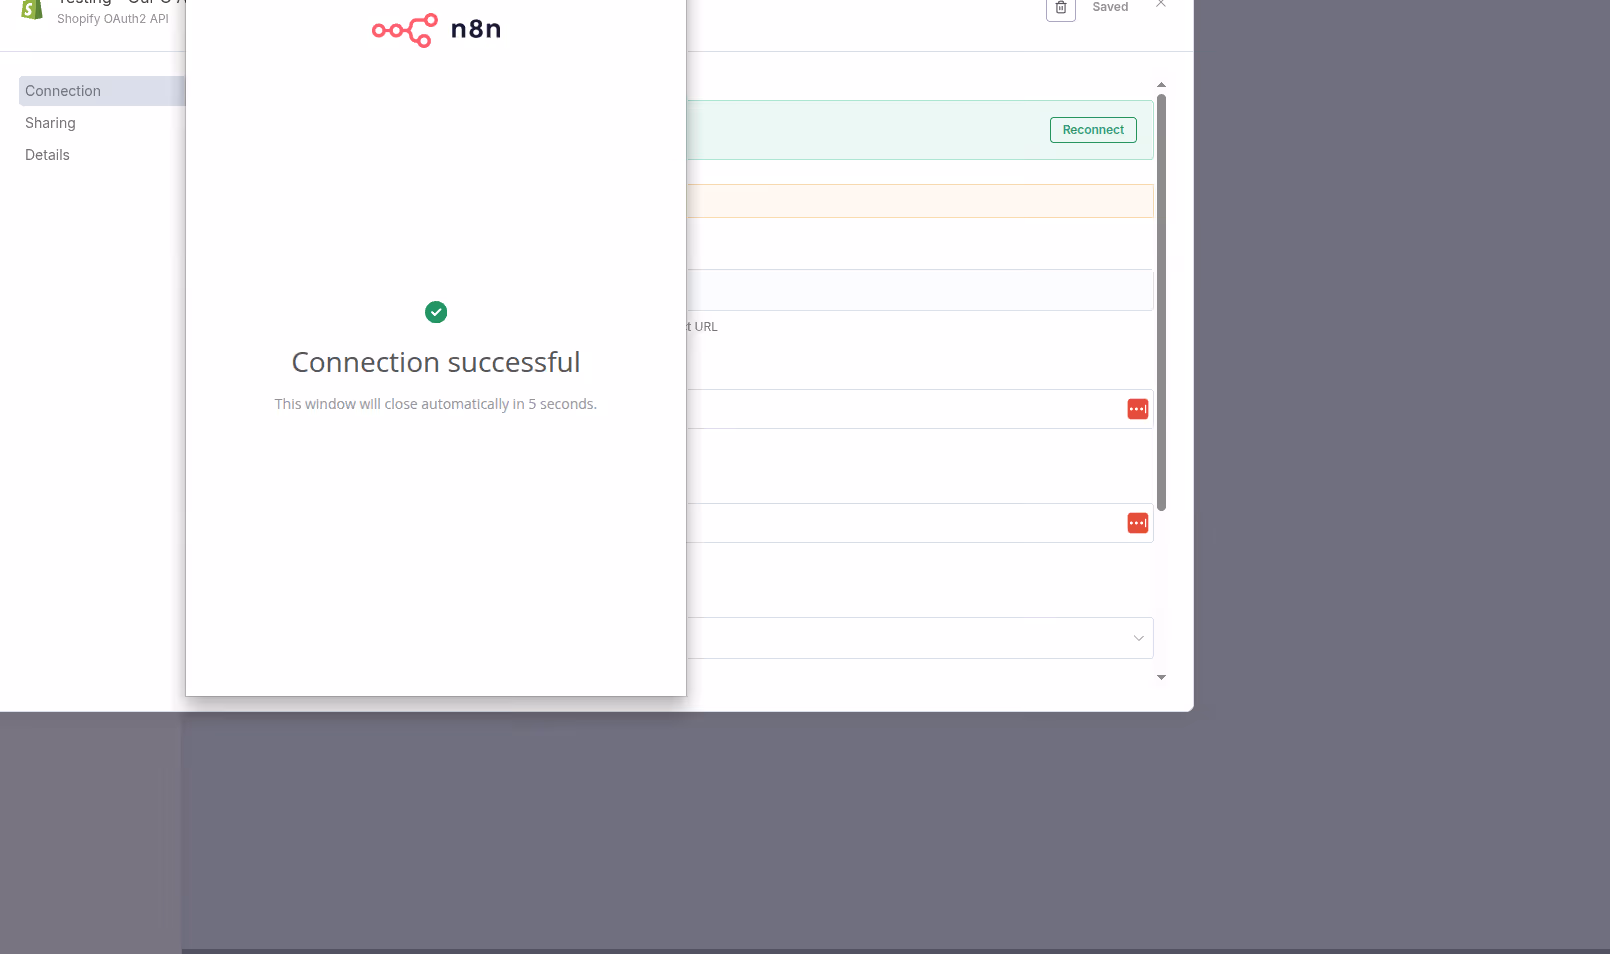
Click Connect Account.
You will be redirected to Shopify’s authorization screen. After approval, Shopify redirects back to your n8n instance and n8n stores the access token securely.
This flow follows Shopify’s authorization code grant model, redirect, code, exchange for access token.
To confirm everything works:
Add a Shopify node or Shopify Trigger in n8n.
Select the newly connected credential.
Run a simple action such as Get Orders or Get Products.
If a specific operation is not available in the Shopify node, you can use the HTTP Request node with the same credential to call Shopify APIs directly.
If you see “Couldn’t connect” or “Forbidden”, this is almost always a scope mismatch, not invalid credentials. Recheck your app scopes and ensure required dependent scopes are included.
If you do not see “Develop apps” or “Create app” in the store admin, custom app development may not be enabled. Store owner permissions are required.
If OAuth redirect errors occur, double check that the redirect URL is added exactly and that the app URL host matches the redirect host.
If customer data access fails, you likely need to request access for protected customer data in the app configuration.
n8n supports two authentication approaches.
Access token authentication is recommended for a single store, admin created custom app where you do not need an OAuth consent flow.
OAuth2 authentication is recommended when using a Partner created new custom app, connecting multiple stores, or when you want a Connect Account user experience.
If you are building a scalable automation setup or distributing workflows across stores, OAuth2 is the correct long term choice.
Shopify Authentication and Authorization
https://shopify.dev/docs/apps/build/authentication-authorization
Shopify Authorization Code Grant
https://shopify.dev/docs/apps/build/authentication-authorization/access-tokens/authorization-code-grant
n8n Shopify Credentials
https://docs.n8n.io/integrations/builtin/credentials/shopify/
These references align directly with the steps above.
FireNet Designs is a verified Shopify Partner, featured in the official Partner Directory. Since 2022, we’ve delivered lightning-fast Shopify design, development, SEO, app builds, and more—4x faster, at half the cost. No fluff, no middlemen—just results. The Anti-Agency for brands that want growth, not delays.

Get expert eyes on your storefront
© FireNet Designs Inc.


